How to Start a Shopify Store
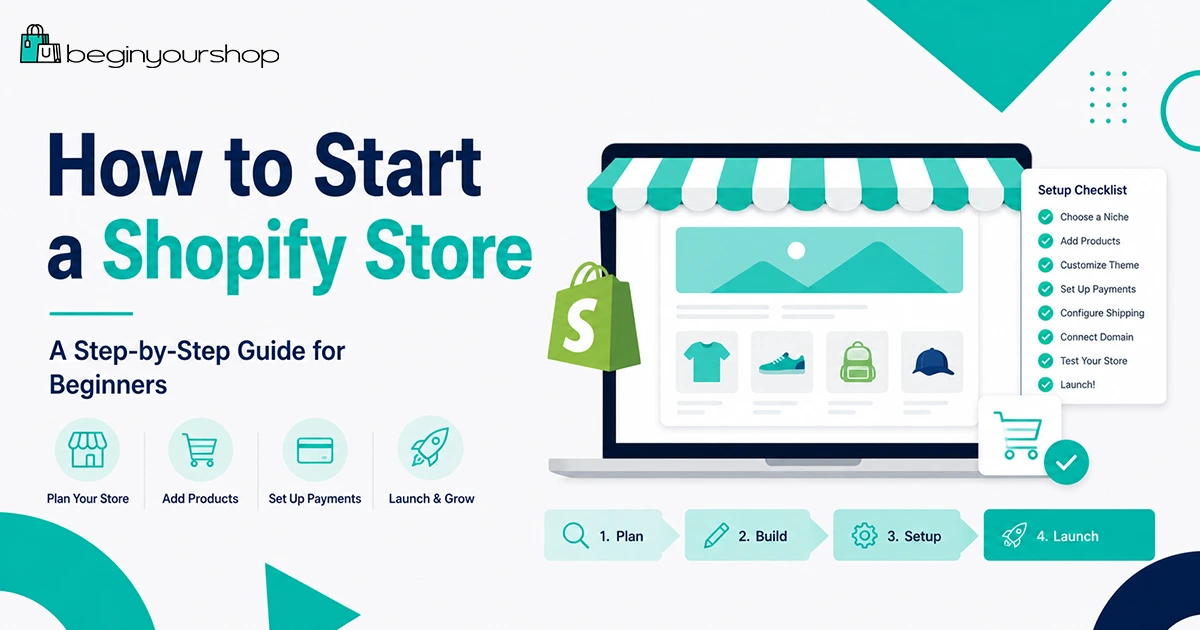
If you want to start an online store, Shopify is one of the most beginner-friendly platforms to begin with. You do not need to install ecommerce software, manage hosting, or build a checkout system from scratch. Shopify gives you a hosted store builder, product management tools, themes, payments, shipping settings, and launch tools in one place.
That said, starting a Shopify store is not just about opening an account. A real store needs a clear product idea, trustworthy product pages, a clean theme, payment setup, shipping rules, store policies, a domain, and a final pre-launch test.
This guide walks you through how to start a Shopify store step by step, from the first planning decision to the final launch checklist.

Before You Start a Shopify Store
Before you click “start trial” and begin customizing a theme, take a short step back. The easiest Shopify stores to build are the ones with a clear starting point.
You do not need a perfect business plan, but you should be able to answer three basic questions:
- What are you selling? Physical products, digital products, print-on-demand items, dropshipping products, handmade goods, subscriptions, or something else?
- Who is the store for? Beginners often skip this, but knowing the customer makes product pages, images, pricing, and marketing much easier.
- How will customers receive the product? You need to know whether you are shipping it yourself, using a supplier, using print-on-demand, offering local pickup, or delivering digitally.
Shopify can help with the technical setup, but it cannot decide your product strategy for you. A simple product idea with a clear customer is usually better than a complicated store with too many unrelated items.
Beginner tip: Start with a focused store. You can expand later, but your first launch should be easy to explain in one sentence.
1. Choose What You Want to Sell
The product decision affects almost every part of your Shopify setup: theme choice, product photos, shipping rules, payment options, return policy, app needs, and marketing strategy.
Common beginner-friendly product models include:
- One-product store: Simple to build and easy to explain, but depends heavily on one offer.
- Niche store: A small collection of related products for a specific audience.
- Print-on-demand store: Products are created after purchase, often using a third-party fulfillment provider.
- Dropshipping store: A supplier ships products directly to customers after orders are placed.
- Handmade or in-house products: You control the product and brand, but you also handle production and fulfillment.
- Digital products: No physical shipping, but you need delivery and access rules.
For a first Shopify store, avoid building a catalog with hundreds of products before you understand the platform. It is usually better to launch with a smaller selection, learn from real traffic, and improve over time.
What makes a good first product?
A good first product is not just something you like. It should be understandable, easy to present, and realistic to fulfill.
Look for products that meet several of these criteria:
- The customer can understand the product quickly.
- The product solves a clear problem or supports a clear desire.
- You can get good photos or create good visuals.
- The price leaves enough room for product cost, shipping, payment fees, and marketing.
- The product is not too difficult to ship, return, or explain.
- The product does not create legal, safety, medical, or compliance problems that you are not ready to handle.
2. Start Your Shopify Trial
Once you have a product direction, start your Shopify trial and create your store account. During the trial, your goal is not to make the store perfect. Your goal is to understand the Shopify admin, add real products, test the design, and decide whether Shopify fits your business.
When signing up, Shopify may ask basic onboarding questions about your business, selling experience, products, and preferred sales channels. Answer as accurately as you can. These questions help customize your setup experience, but you can adjust most store settings later.
If you are still comparing Shopify with other platforms, read our free trial guide first:
Shopify Free Trial Explained for Beginners
What to do immediately after creating your account
After you enter the Shopify admin, take a few minutes to understand the main areas:
- Home: Setup prompts, store activity, and quick recommendations.
- Products: Where you add and edit product listings.
- Orders: Where customer orders appear after launch.
- Customers: Customer records and account information.
- Content: Files, metaobjects, blogs, and related content tools.
- Online Store: Themes, pages, navigation, blog posts, and preferences.
- Settings: Payments, shipping, taxes, domains, notifications, markets, policies, and other store-level settings.
Do not spend the entire trial changing colors. Start with products, store structure, payments, shipping, and launch readiness.
3. Set Up Your Store Basics
Before you add many products, configure the basic identity and operating details of your store.
In your Shopify admin, review these settings:
- Store name: The public-facing name of your store.
- Legal business name: The legal name used for business and payment records, if applicable.
- Business address: Important for taxes, shipping, payment setup, and customer communication.
- Store currency: The currency your store uses for product pricing.
- Time zone and standards: Helpful for order records, reporting, and customer communication.
- Sender email: The email address customers see in store emails.
If you are not legally registered as a business yet, you can still explore Shopify, but be careful before launching a store that collects payments. Your payment provider, tax obligations, and business structure can depend on your location and business model.
Important: Do not use fake business information in payment or billing settings. Payment providers may require accurate identity, address, bank, and business details.
4. Add Your Products
Products are the foundation of your Shopify store. A good product page does more than list a price. It explains what the product is, who it is for, why it matters, and what the customer receives.
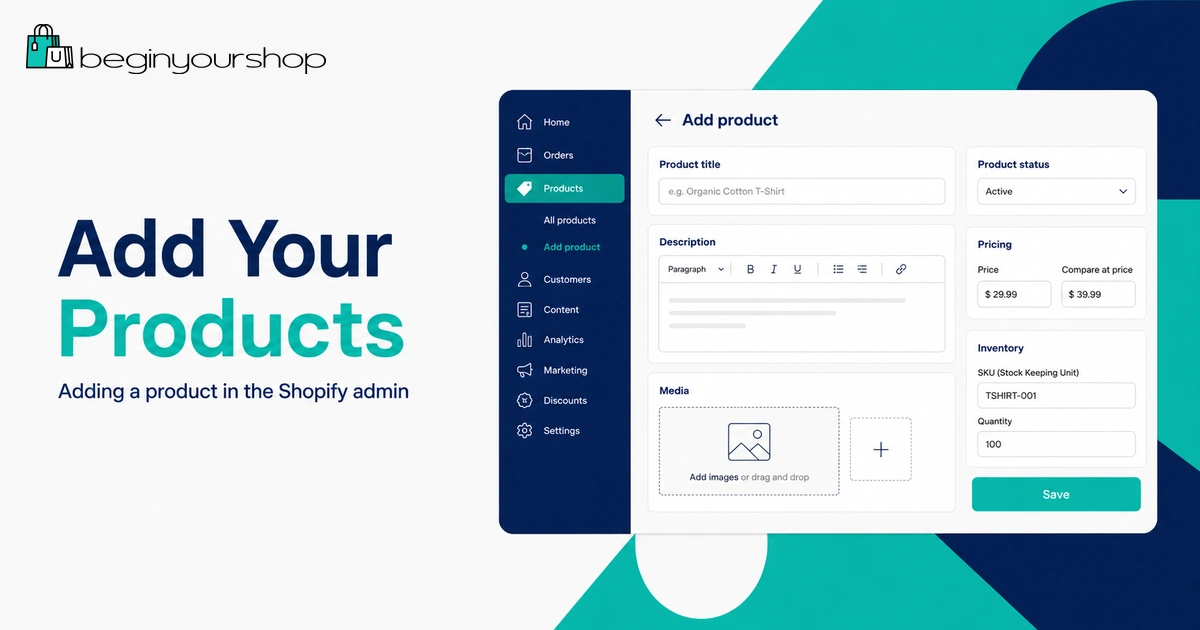
To add a product, go to Products in your Shopify admin and create a new product listing. Shopify’s product editor lets you add product titles, descriptions, media, pricing, inventory details, variants, product organization, and search engine information.
What to include on a product page
For each important product, include:
- Product title: Clear, concise, and specific.
- Product description: Explain benefits, use cases, materials, sizing, compatibility, or what is included.
- Product images: Use clean product photos, lifestyle images, or mockups depending on your product type.
- Price: Set a price that covers costs, payment fees, shipping assumptions, and profit margin.
- Compare-at price: Use only when there is a legitimate discount.
- Inventory: Track stock if you are managing inventory.
- Shipping details: Add weight or fulfillment information if needed for shipping rates.
- Variants: Add sizes, colors, materials, packs, or other options if customers choose between versions.
- SEO title and description: Write a search-friendly title and meta description for important products.
Beginners often write product pages that are too short. If a customer needs to ask basic questions before buying, your page probably needs more detail.
Product page checklist
| Element | Beginner standard |
|---|---|
| Title | Clear enough to understand without context. |
| Description | Explains benefits, details, use cases, and what is included. |
| Images | Show the product clearly from multiple useful angles. |
| Price | Covers product cost, shipping assumptions, fees, and profit. |
| Variants | Easy to understand and not overly complicated. |
| Shipping info | Weight or delivery details are configured where needed. |
5. Organize Products and Navigation
Once you have more than a few products, organize them so customers can browse your store without confusion.
In Shopify, products can be organized into collections. A collection is a group of products, such as “New Arrivals,” “Best Sellers,” “Women’s Shoes,” “Desk Accessories,” or “Starter Kits.”
There are two common collection types:
- Manual collections: You choose which products belong in the collection.
- Automated or smart collections: Shopify adds products based on conditions, such as product tag, price, vendor, product type, or other rules.
For beginners, manual collections are often easier at first. Automated collections become more useful when your store has a larger catalog and consistent product tagging.
Keep navigation simple
Your main menu should help customers find the most important parts of your store quickly. Do not overload the top navigation.
A simple beginner navigation might include:
- Home
- Shop
- Best Sellers
- About
- Contact
- Shipping & Returns
If you sell multiple categories, use clear collection names instead of clever names customers may not understand.
6. Choose and Customize a Theme
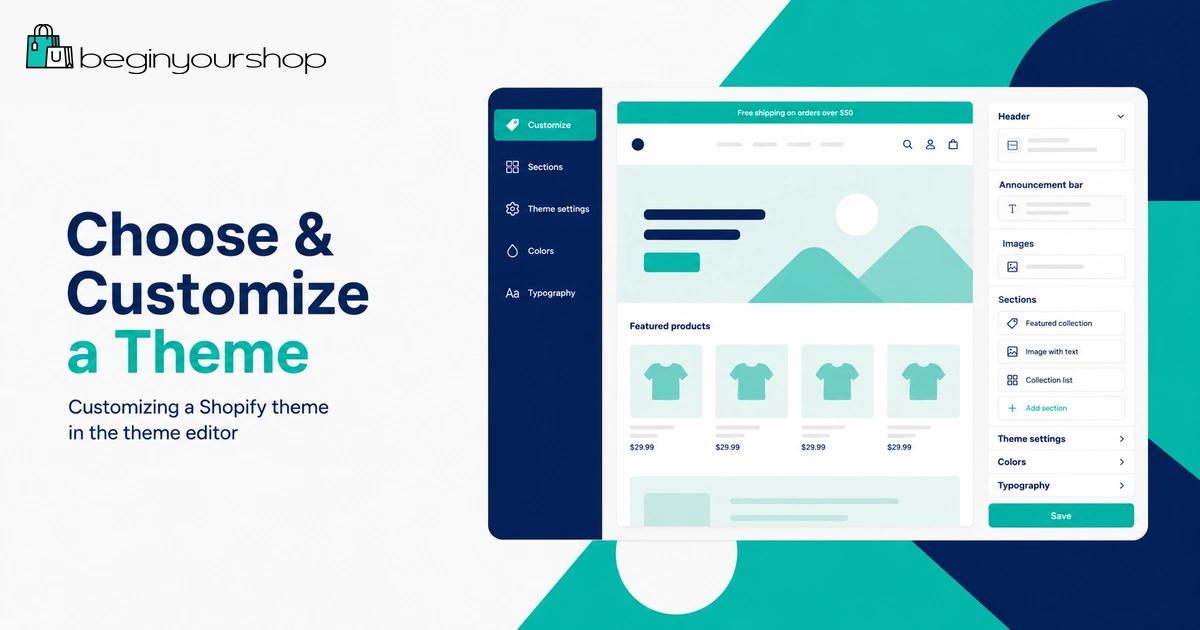
Your Shopify theme controls the visual structure of your storefront. It affects the homepage layout, product pages, collection pages, navigation, footer, typography, spacing, and many visual elements.
Shopify stores start with a default theme, and you can add free or paid themes from the Shopify Theme Store. Beginners should usually start with a free theme unless they have a clear reason to buy a paid one.
What to look for in a beginner-friendly theme
- Clean product page layout
- Good mobile presentation
- Clear navigation
- Simple homepage sections
- Good image support
- Fast enough for a small store
- Fits your product type without heavy customization
Do not choose a theme only because the demo looks impressive. Theme demos often use professional photos, perfect copy, and ideal product catalogs. Your real store needs to look good with your actual products and content.
Customize the most important sections first
Instead of trying to customize everything, start with:
- Header and navigation
- Homepage hero section
- Featured products or collections
- Product page sections
- Footer links
- Brand colors and typography
The goal is not artistic perfection. The goal is clarity, trust, and a path to purchase.
7. Create Essential Store Pages
Store pages help customers understand who you are, how your store works, and what to expect after ordering.
At minimum, create these pages before launch:
- About: Explain your store, audience, mission, or product focus.
- Contact: Tell customers how to reach you.
- Shipping Policy: Explain shipping regions, processing times, estimated delivery, and any limitations.
- Return and Refund Policy: Explain what can be returned, when, and how.
- Privacy Policy: Explain how customer data is handled.
- Terms of Service: Explain general store terms.
Shopify provides policy tools and templates in some languages, but you are responsible for making sure your policies fit your store, products, location, and legal obligations.
What makes store pages trustworthy?
Trustworthy pages are specific. Avoid vague policies like “shipping varies” or “contact us for returns” unless you explain exactly what that means.
Customers want to know:
- How long orders take to process
- Where products ship from
- How shipping costs are calculated
- Whether returns are accepted
- How refunds are handled
- How to contact support
8. Set Up Payments
Before customers can buy from your store, you need a way to accept payments.
Shopify Payments is Shopify’s built-in payment solution in supported countries and regions. It can let you accept credit cards and other payment methods while managing payments in your Shopify admin. Depending on your country, you may need to provide personal, business, tax, banking, and identity information.
If Shopify Payments is not available in your country or does not fit your business, you may be able to use a third-party payment provider. Available options depend on location, business type, currency, and provider rules.
Payment setup checklist
- Check whether Shopify Payments is available in your country.
- Review eligibility and prohibited business rules.
- Add accurate business and identity details.
- Add bank account or payout information where required.
- Enable PayPal or other payment methods if appropriate.
- Review checkout currency and tax implications.
- Run a test order before launch.
Beginner tip: Payment setup can take longer than theme customization. Do not leave it until the day you plan to launch.
9. Set Up Shipping, Taxes, and Delivery Rules
Shipping is one of the most important parts of your store setup, especially if you sell physical products.
Your shipping setup should answer these questions:
- Where do you ship?
- Which products require shipping?
- How much do customers pay for shipping?
- Do you offer free shipping?
- How long does processing take?
- Do different countries, regions, or products need different rates?
In Shopify, shipping settings can include shipping zones, shipping rates, product weights, fulfillment locations, delivery methods, local pickup, and carrier-related options depending on your plan and location.
Simple shipping strategies for beginners
If you are new, keep shipping simple. Complicated rules can confuse customers and create support problems.
- Flat-rate shipping: One shipping price for a region or order type.
- Free shipping over a threshold: For example, free shipping over a certain order value.
- Product-based shipping: Useful when some products are heavy, fragile, or oversized.
- Local pickup: Useful for local businesses.
Tax settings depend on your business location, customer location, product type, and local requirements. If you are unsure, speak with a qualified tax professional before launching.
10. Connect a Domain
Every Shopify store receives a default myshopify.com address when it is created. For a real brand, you should use a custom domain such as yourbrand.com.
A custom domain helps customers recognize your store, makes your brand easier to share, and looks more professional in search results, email, and social media.
You can buy a domain through Shopify or connect a domain from another provider. After you add a domain, you can manage domain settings from the Domains area in your Shopify admin.
Domain setup tips
- Choose a short, memorable domain if possible.
- Avoid confusing spelling and unnecessary hyphens.
- Use a domain that matches your store name closely.
- Set your custom domain as the primary domain.
- Set up a professional email address or forwarding if needed.
If your exact brand name is not available, choose clarity over cleverness. A slightly longer but understandable domain is usually better than a confusing one.
11. Install Only the Apps You Need
The Shopify App Store has apps for email marketing, reviews, subscriptions, upsells, bundles, shipping, analytics, loyalty programs, dropshipping, print-on-demand, and many other use cases.
Apps can be powerful, but beginners often install too many. Every app can add cost, complexity, and sometimes performance overhead.
Start with the minimum. You may not need many apps before your first launch.
Useful app categories for beginners
- Email marketing or newsletter capture
- Product reviews
- Print-on-demand or fulfillment if your business model requires it
- Customer support or chat
- Analytics or conversion tracking
- SEO helpers, if they solve a specific problem
Before installing an app, ask:
- Does this solve a real problem I have right now?
- Will this add monthly cost?
- Does it slow down my storefront?
- Can I remove it easily later?
- Does the theme already include this feature?
12. Test Your Store Before Launch
Testing is not optional. Before you remove the password and send customers to your store, test the customer experience from beginning to end.
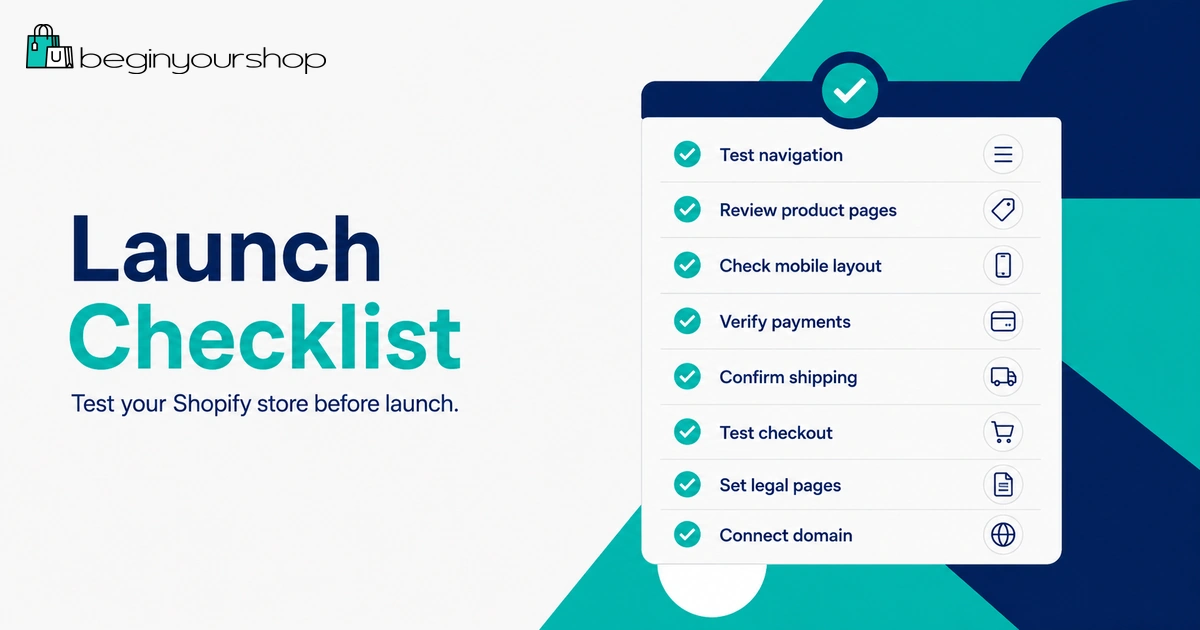
At minimum, test:
- Homepage links
- Main menu and footer links
- Collection pages
- Product pages
- Variant selection
- Add-to-cart behavior
- Cart page or drawer
- Checkout flow
- Discount codes
- Shipping rates
- Payment options
- Order confirmation email
- Mobile layout
- Contact form or support email
If you use Shopify Payments, review Shopify’s test mode and payment testing guidance. If you use another provider, check whether that provider supports test transactions.
Pre-launch testing checklist
| Area | What to confirm |
|---|---|
| Products | Images, prices, variants, descriptions, and stock are correct. |
| Navigation | Customers can reach products, policies, contact, and checkout. |
| Checkout | Shipping, taxes, payment, and confirmation flow work correctly. |
| Mobile | Menus, buttons, images, and forms work on a phone screen. |
| Policies | Shipping, returns, privacy, and terms are visible and specific. |
13. Launch Your Shopify Store
When your store is ready, choose the right Shopify plan, complete payment and shipping setup, test the checkout, and remove the online store password so customers can access the storefront.
Before launching, review one final time:
- Products are visible and purchasable.
- Collections and menus make sense.
- Payment provider is active.
- Shipping rates are clear.
- Policies are published.
- Contact information works.
- Custom domain is connected and set as primary.
- Password page is ready to remove.
- Store has been tested on desktop and mobile.
Shopify stores are password protected during the free trial. When you are ready to launch, you typically need to choose a subscription plan before removing the password and making the store publicly available.
What to Do After Launch
Launching is not the end of the process. It is the beginning of learning from real visitors.
In the first week after launch, focus on:
- Checking that orders and emails work correctly
- Reviewing analytics and traffic sources
- Watching for abandoned carts
- Fixing unclear product descriptions
- Improving product images
- Answering customer questions quickly
- Testing small marketing channels instead of trying everything at once
Do not panic if your store does not get sales immediately. Many new stores need several rounds of improvement before they convert consistently.
First 30 days after launch
During the first month, work on one improvement area at a time:
- Week 1: Fix technical issues and checkout friction.
- Week 2: Improve product pages and trust signals.
- Week 3: Test one marketing channel.
- Week 4: Review data and improve your offer.
Common Mistakes When Starting a Shopify Store
Mistake 1: Spending too much time on design
Design matters, but beginners often spend too much time adjusting colors and sections before the store has strong products, descriptions, shipping rules, and payment setup.
Mistake 2: Adding too many products
A huge catalog is harder to manage and harder for customers to understand. Start focused.
Mistake 3: Ignoring mobile users
Many customers will view your store from a phone. Test your homepage, product page, menu, cart, and checkout on mobile.
Mistake 4: Not testing checkout
You should know exactly what customers see before they pay. Test successful and failed flows where possible.
Mistake 5: Using unclear shipping and return policies
Customers hesitate when shipping times, return rules, or support options are vague.
Mistake 6: Installing apps too early
Apps should solve specific problems. Do not install apps just because another store uses them.
How to Start a Shopify Store: FAQ
Can I start a Shopify store with no experience?
Yes. Shopify is designed to be accessible for beginners, but you still need to learn the basics of products, pricing, shipping, payments, store policies, and marketing.
How long does it take to start a Shopify store?
A simple store can be set up in a few days, but a trustworthy store with good products, policies, payment setup, shipping rules, and testing often takes longer. The timeline depends on your product catalog, business model, and how prepared your assets are.
Do I need a business license to start a Shopify store?
This depends on your location, business structure, products, and local rules. Shopify lets you create a store, but legal and tax requirements are your responsibility. Check local requirements or speak with a qualified professional.
Can I start a Shopify store without inventory?
Yes, some models such as dropshipping, print-on-demand, and digital products can start without traditional inventory. However, you still need reliable fulfillment, clear product information, and realistic customer expectations.
Do I need a paid theme?
No. Many beginners can start with a free Shopify theme. A paid theme is only worth considering if it provides layout, features, or design options that your store truly needs.
Which Shopify plan should beginners choose?
Most beginners should start with the lowest plan that supports their needs, then upgrade later if the store grows. Review Shopify pricing and plan features before choosing.
Should I use Shopify apps right away?
Use apps only when they solve a real setup or business problem. Too many apps can increase costs and make your store harder to manage.
Can I launch during the Shopify free trial?
You can build and prepare your store during the trial, but to make the online store publicly accessible and fully launch, you typically need to choose a subscription plan and remove the storefront password.
What should I do before sending traffic to my store?
Make sure products, navigation, policies, shipping, payments, mobile layout, checkout, and contact options all work correctly. Sending traffic to an unfinished store can waste money and reduce trust.
Final Thoughts
Starting a Shopify store is easier when you follow a clear sequence. Do not begin with advanced apps, complicated branding, or too many products. Start with the fundamentals: product, theme, pages, payments, shipping, domain, testing, and launch.
The best first Shopify store is not perfect. It is clear, trustworthy, functional, and ready to improve based on real customer behavior.
If you want to build along while following this guide, start with Shopify’s trial, add your first product, choose a simple theme, and work through the launch checklist step by step.
Next recommended guide: Shopify Pricing Explained for Beginners
- Hits: 394